Kaltura: Adding Captions to Video
Kaltura provides an automatic captioning system for uploaded videos. You can also edit captions manually if needed.
Video Userguide
Video not loading? Watch on Youtube.
Instructions
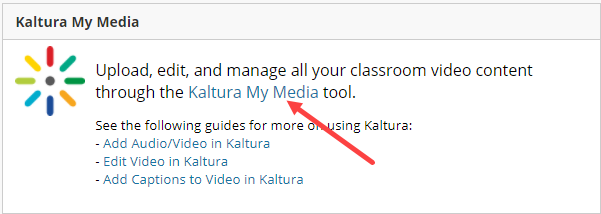
- To access Kaltura My Media, log into ulearn and click on the Kaltura My Media link from the ulearn homepage.
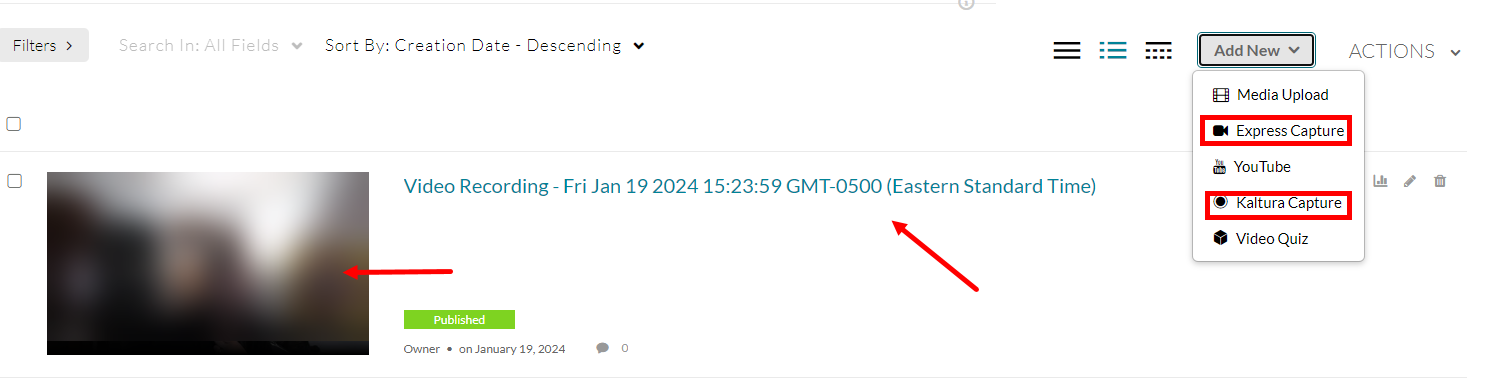
- Locate your video in the list of videos and click directly on the thumbnail or title to open it. If you have not recorded your video yet, refer to the Kaltura Capture or Kaltura Express Capture (Web-Only) user guides.
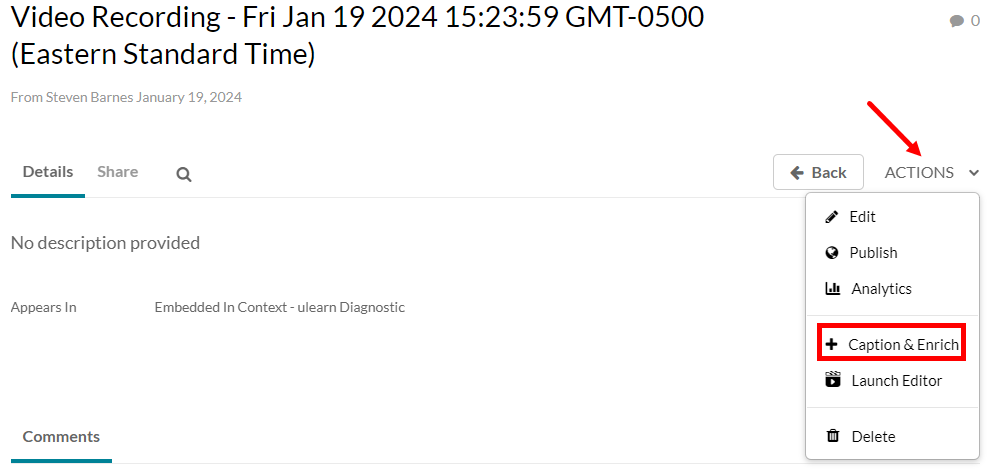
- From the Actions menu below the video, click on Caption & Enrich.
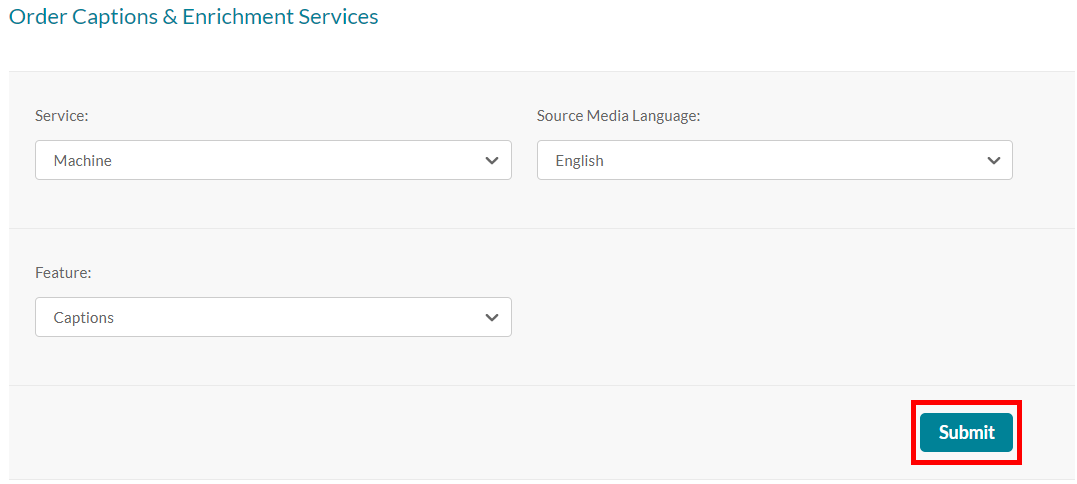
- Under “Order Captions & Enrichment Services,” click Submit.
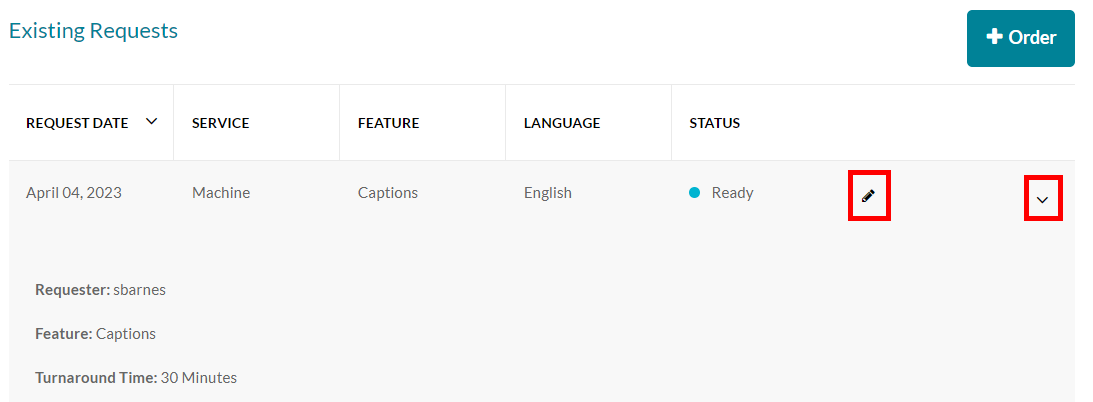
- You can check on the status of your request by clicking on the down arrow to the right of the request. Once the request is complete, you can click the pencil icon to edit the captions.
- In the Closed Captions Editor, you can make changes to various settings (see tool descriptions below).

- Caption file drop-down menu
This menu allows you to select which caption file you are editing if the video has more than one. - Captions search bar
This search bar can find specific words within your caption file. It can also search for and replace words on a one-for-one basis with a new word. Once you have typed a word into the search bar and found instances of it within your captions, enter a replacement word or phrase into the Replace With field, then click the Replace button. - Captions content editor
This editor displays all the captions from your selected caption file. Each entry lists the timestamp for the beginning and end of the caption's appearance on-screen in hours, minutes, seconds, and milliseconds (hh:mm:ss:mil). You can mouse over both the timestamps and the caption text and click them to make any necessary edits. - Speaker ID Field
This field allows you to designate the speaker for a give portion of your captions. - Saving or undoing changes
The Save button allows you to save any changes you made to the caption file. If you want to undo the changes you have made, click the Revert button to return the caption file to its original state prior to the current editing session. - Video Preview Player
This preview player allows you to view which part of the video you are editing the captions for, and provides 5-second skip buttons to allow for more precise navigation through the video. The Autoscroll checkbox will cause the Caption Content Editor (highlighted in C) to scroll as the video in the preview window plays.
- Caption file drop-down menu
- To save your changes, click the Save button in the upper right corner of the editor. Your video is now captioned and ready to view. If you have not yet added the video to your course, refer to the Kaltura Capture or Kaltura Express Capture (Web-Only) user guides.